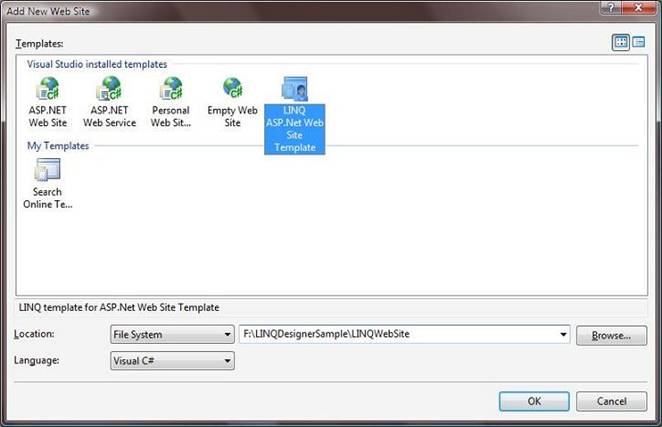
We will now want to go
ahead and build a LINQ-enabled ASP.NET web-site that uses our LINQ class
library. Choose File->Add->Web Site within Visual Studio to add a
new project to the solution. Choose the LINQ web-site template to create
an ASP.NET web-site that is enabled with the LINQ compilers.
Figure 7
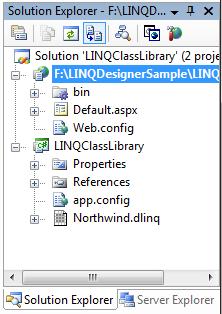
Your VS solution will then look like this:
Figure 8
The last two steps you will want to take are to:
1) Add a project reference from the web-site
project to the LINQ class library. To-do this, right-click on the web-site
and select "Add Reference," select the
"Projects" tab and add the reference as normal.
2) Add a connection-string to your web.config
file in the web-site project for the LINQ class library. This will enable
you to easily configure and change the connection-string that is used at
runtime for the application. Simply copy/paste the connection-string
value in the LINQ class library's app.config file to the web.config file's
<connectionString> section to configure this.
Once the above two steps are done, we are
ready to build ASP.NET UI pages against our LINQ class library and associated
data models.