The first step is to create User Roles for this form. In
InfoPath 2003 you are allowed to setup roles for Users on the form. The tool
allows you to setup roles based on the User names, Group Names and User Names
from the form. To setup user roles follow these steps.
·
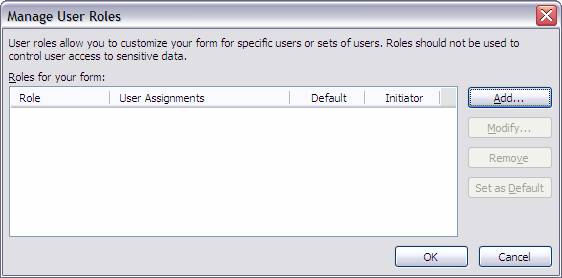
Click on Tools - > User Roles.
Figure 2
·
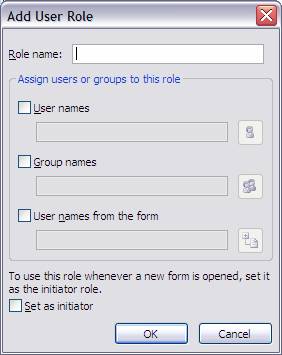
Click on Add.
Figure 3
·
Specify a Role Name.
·
You can either enter the User Name, Group Name or User Names from
the form or a combination of them all.
·
You can also specify that a specific role is in the initiator
role. The one who opens the form to fill it out will be the initiator.
For this example
I will just consider User Names from the Form. Before I set the User Names,
let me explain the different options.
·
User Names: In this option you can specify certain user names who
will be assigned this role, for example, technical\aphadnis.
·
Group Names: This is basically the AD Group in your domain. It
can also be the email distribution list, i.e. technical\distribution.
·
User Names from the form: This allows you to select user names
from the form itself. You will have to select the appropriate field to be
used.
Follow these
steps to create the User Role.
·
Click on Tool -> User Roles.
·
Click on Add.
·
Enter Role Name as the User.
·
Check User Names from the form checkbox.
·
Click on the button next to the text box.
·
Browse to the appropriate field. In my scenario I have added
UserNetworkUserName under the contact.
·
Select the field and click OK.
·
Set the role as initiator.
·
Click OK.
Now you have
created your User Role. You can use the above steps to create a Manager Role
too.
If you have
certain fields that are visible based on the role, you can edit the properties
for the fields and go to the display tab and add a rule to conditional
formatting to hide the field. In my scenario I have added a couple of fields
called Approve_Rejected and Comments. I have added it as a section. So, I can
edit the properties for the entire section itself. Follow these steps to add the
rules to the conditional formatting.
·
Open the properties dialog box.
·
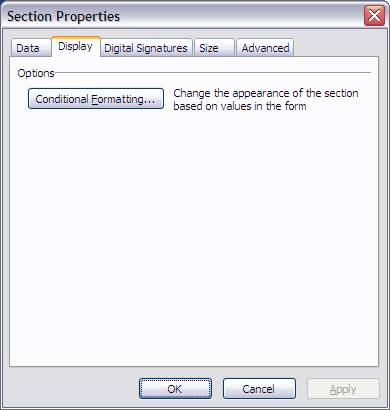
Click on Display Tab.
Figure 4
·
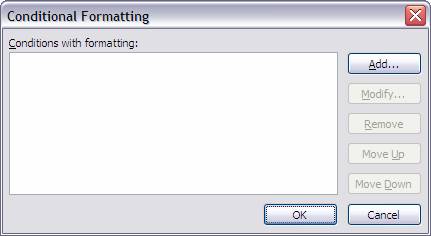
Click on the Conditional Formatting Button.
Figure 5
·
Click on Add.
Figure 6
·
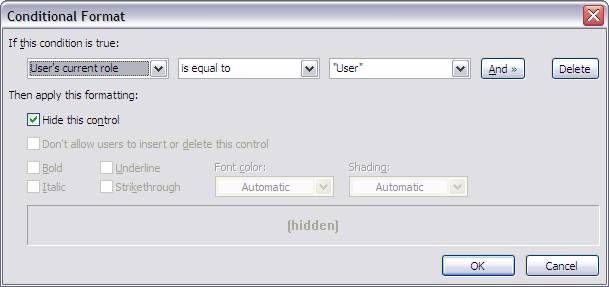
In my scenario, except for Hide this control, all other options
are disabled because I am in the edit properties for the section. If you do it
on a field, all the other options would be enabled for you. In this example I
have selected User's current role and selected the User Role.
·
Click OK.
·
Click OK on Conditional Formatting.
·
Close the Section Properties dialog box by clicking OK.
Once the above
formatting is done, you can preview the form using different roles. To preview
the forms with different roles click on File->Preview Form -> With User
Role option.
Setting up Rules for Submitting the form
Once the user roles are setup, we need to create some rules
to setup our workflow process. For this article I will consider emailing this
form to appropriate users. Before we setup our form submit options, we will
look at different options provided by InfoPath 2003 to submit forms. The
submit form looks like the figure below.
Figure 7
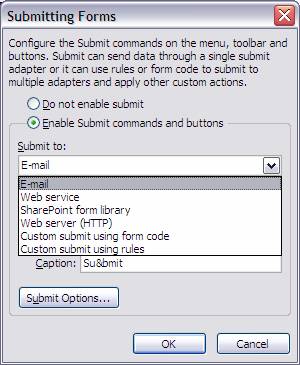
The Submit To options are the following.
Email: You can email this form to certain user(s).
Web Service: You can use the data to be submitted to some
web service for processing.
Sharepoint Form Library: Basically, the XML data will be
submitted to some Forms Library on WSS or SPS site.
Web Server: Submitting it to some web server to store the
XML file.
Custom Submit using Form Code: Developers can write their
complex submit code and use that code to Submit the form.
Custom Submit Using Rules: The developers can create their
own rules using the rules interface to submit the form.
There is one more option which is not listed above and that
is the Database option. The database option is only visible if you have
created this form using some database connection.
For our example we will use the Custom submit using Rules. We
will be setting three actions and use the rules to perform the action. The
three actions and their rules are below.
·
Email To Manager - This action will involve emailing the form to
the email address listed for my manager on the form. The rule to perform this
action is "Users current role is User."
·
Email to User - This action will email the form back to user if
it is rejected. The user email address used in this scenario is Email Address
under Employee section. The rules to perform this action are the user's
current role is manager and the approve_rejected field is set to Rejected.
·
Email to HR - This action will email the form to HR department. The
HR department email is hard coded. The rules to perform this action are the user's
current role is manager and the approve_rejected field is set to approve.
I will demonstrate
how to create one action.
·
Click on Tools -> Submitting Forms.
·
Under Submitting Forms Window make sure the Enable Submit
commands and buttons are selected.
·
Under Submit to dropdown list box, select Custom submit using
Rules.
·
When Rules button is displayed, click on it.
·
The Rules for Submitting forms are displayed.
·
Click on Add.
·
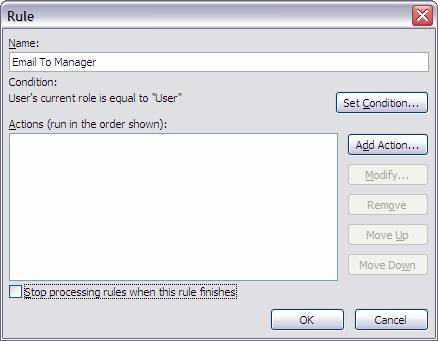
The Rule window is displayed.
·
Specify a Rule Name.
Figure 8
·
Click on Add Action.
·
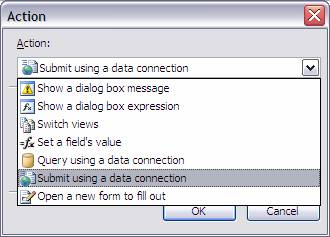
The Action window is displayed.
·
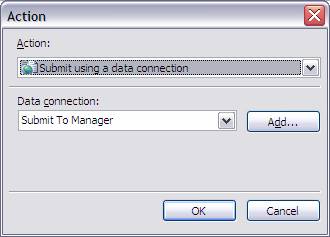
Under the Action dropdown list, select Submit Using a Data
Connection.
Figure 9
·
On the Data Connection, Click Add.
·
The Data Connection Wizard opens.
Figure 10
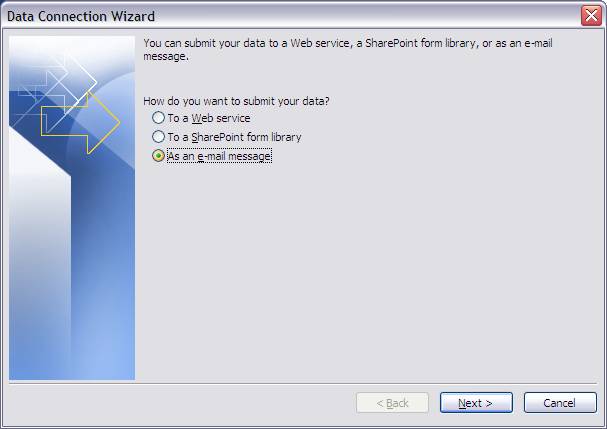
·
Select "As an e-mail message" and click Next.
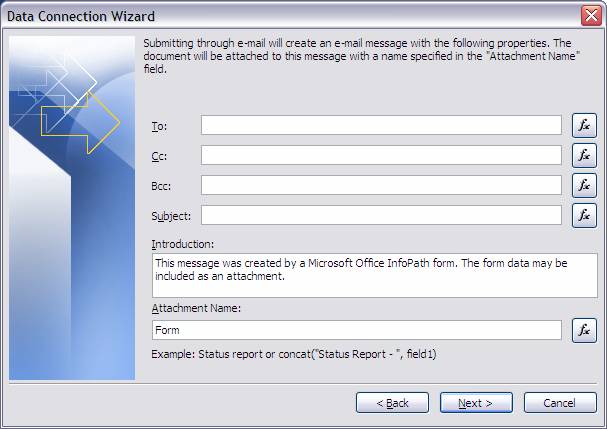
Figure 11
·
In the "To" field we need to select the manager's email
address. Click on the formula button next to the "To "Text box. It
will display the Insert Formula dialog box.
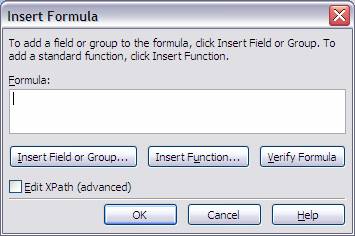
Figure 12
·
Click on Insert Field or Group button.
·
Browse to manager and select emailaddressprimary.
·
Click OK. The remaining fields can be entered appropriately. Please
note that while creating the action for the HR department, you can just enter
the HR department's email address.
·
Click Next. Give an appropriate name to the Data Connection.
·
Click Finish.
·
The data connection name will be displayed on the Action dialog
box.
Figure 13
·
Click OK.
·
The action will be displayed on the "Email To Manager Rule"
dialog box. Now we need to set a condition for when to email it to the
manager. Click on Set Condition.
Figure 14

·
Set the condition appropriately. Click OK.
·
The condition will be set now for the action.
·
Click OK.
Using the above
steps you can set the other rules. For emailing it to HR (on approval) or User
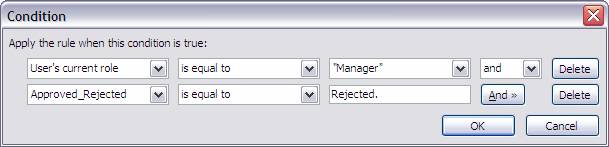
(on rejection), you can set the condition using the "And" clause.
The condition
for User will look like the following.
Figure 15
The condition
for HR action will look like Figure 16.
Figure 16

Now your form is
ready to be tested and deployed.
Please note - You
need to publish the form template to a place where all the concerned employees
can get to it. When the form is submitted by email, it will have the location
for the form template. If any of the users are not able to get to the InfoPath
form template, they will not be able to open the attachment. Typical locations
where the form can be deployed are Network folder, WSS or SPS form library,
website or to all desktops in the company. To deploy it to all user desktops,
you need to be sure that everyone has the same folder structure for InfoPath
Forms.