[Download Code]
Step 5: Add a Log Object
Add the following directives to the top of the WebForm1.aspx.cs code-behind file.
using log4net;
using log4net.Config;
Add the following line in the WebForm1 class; its placement is shown in Figure 4 below.
private static readonly ILog log = LogManager.GetLogger("WebForm1");
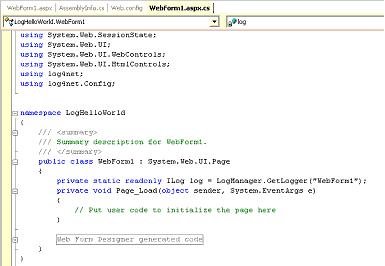
Figure 4
Step 6: Use the Log Object
Our application is now ready to log messages from the WebForm1 class. To test this, drag a Button control from the toolbox onto WebForm1.
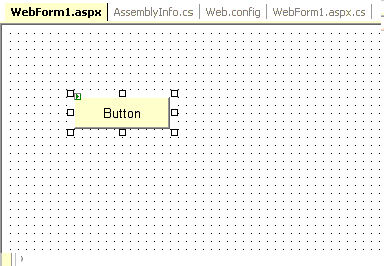
Figure 5
Double-click the Button and add the following code to the Button1_Click event handler.
log.Info("Hello World, I am a logger");
Step 7: Run the Application
We are now ready to test our application and its logging component. To launch the application, press F5. A web page similar to the following should appear in your browser:
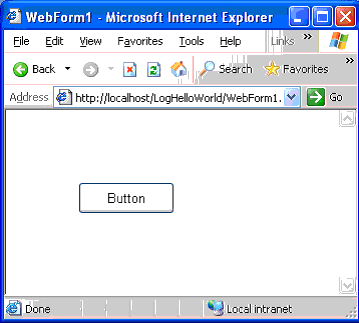
Figure 6
Click on the button to trigger a postback, during which log4net will record our message. Using Notepad, open the file named LogHelloWorld.log in the application's \bin\Debug directory. All going well, you will see a log similar to that shown below.

Figure 7
Conclusion
I hope that this article has demonstrated how easy it is to add the log4net component to your ASP.NET application. For more information, please visit Apache's log4net homepage:
http://logging.apache.org/log4net/