By using Windows Task Scheduler, you can schedule your BounceHandler.vbs script to
run at a time that is most convenient for you. Task Scheduler starts each time
you start Windows 2000 and runs in the background.
With Task Scheduler, you can:
- Schedule a task to run daily, weekly, monthly, or at certain times (such as system startup).
- Schedule a task to run every n number of minutes, for a set period of time.
- Change the schedule for a task.
- Stop a scheduled task.
- Customize how a task runs at a scheduled time.
To get started, you'll need to launch the Task Scheduler by clicking "Start - Programs -
Accessories - System Tools - Scheduled Tasks", from your system's desktop. Once you've
done that, you will see the following window on your desktop. Double-Click the
"Add Scheduled Task" item, in the task list.

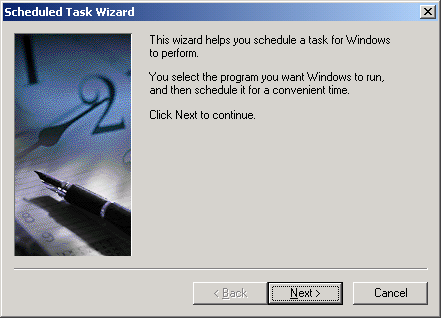
Double-Clicking the "Add Scheduled Task" item will present you with the first screen of
the "Scheduled Task Wizard", as seen below.
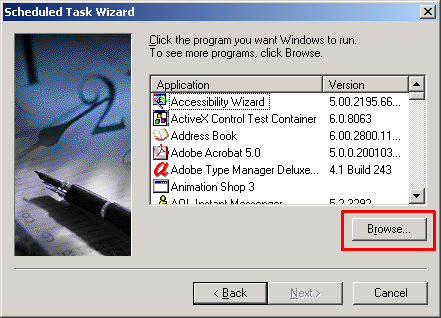
Clicking the "Next >" button will present you with the following window. You'll need to click
the "Browse" button, and browse to the directory where your BounceHandler.vbs script is. In my
case, I saved my BounceHandler.vbs script to my "c:\temp" folder.
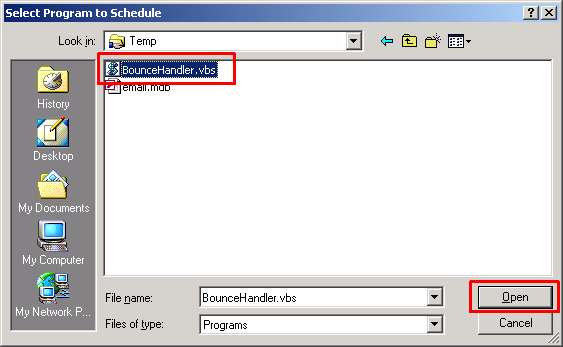
Clicking "Browse" will display the following "Select Program To Schedule" dialog. Browse to your
BounceHandler.vbs script directory, select the BounceHandler.vbs script, and click "Open".
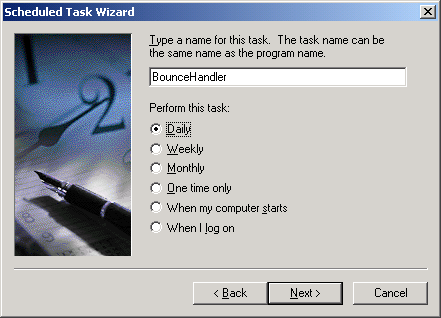
Once you've selected your BounceHandler.vbs script, you'll be taken back to the "Scheduled Task Wizard"
where you'll see the following window. Select the "Daily" option, and click "Next >".
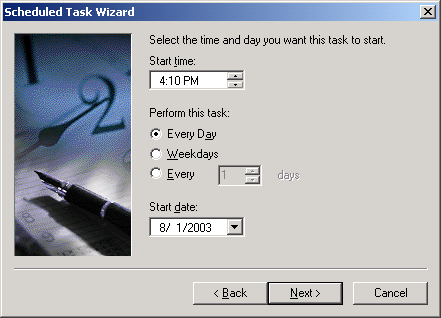
Next, you'll see the following window asking you to "select the time and day that you want this task to start".
Just click "Next >".
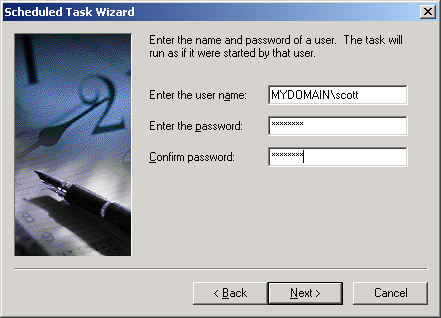
The "Scheduled Task Wizard" will now ask you to select a Windows user that the task should run as. The task will
run as if it were started by that user, even when no one is logged into the machine. Enter a user name and password.
Once you're enter your user name and password information, click "Next >".
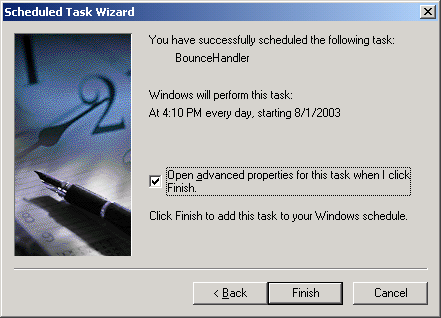
Ok, we're almost done. You are now presented with the option to "Open advanced properties for this task
when I click Finish". Make sure you select that option, prior to clicking "Finish".
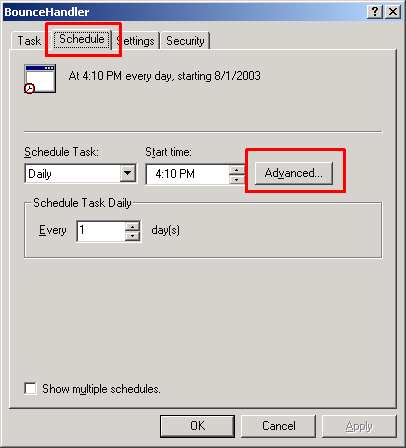
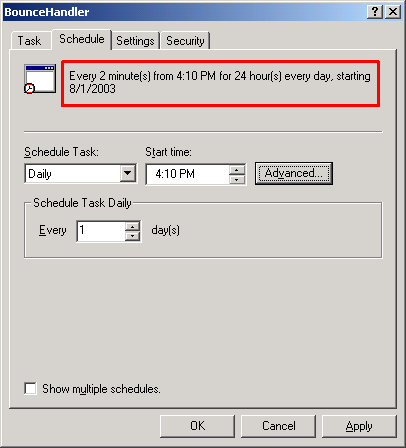
After clicking "Finish", you'll be presented with the following "BounceHandler" Settings Dialog. Click the
"Schedule" tab, and then click the "Advanced" button.
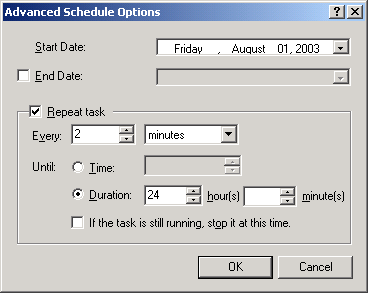
Clicking the "Advanced" button will display the following "Advanced Schedule Options" window. You'll want to
make sure the "Repeat Task" check box is selected. Once you do that, then you'll need to set it to repeat task
every 2 minutes, for a duration of 24 hours (see image below). This will tell the Task Scheduler to execute your
BounceHandler.vbs script every 2 minutes all day long, every day. Feel free to set these settings to whatever you want.
Your requirements may be such that you don't need to execute the script that often, but then you may want to execute
it every 1 minute instead. It's up to you. Click "Ok" when you are done.
Once you click "Ok", you'll be taken back to the "BounceHandler" Settings Dialog. Make sure your new schedule
is correct. You can see that my schedule is configured to run "Every 2 minute(s)
from 4:10PM for 24 hour(s) every day, starting 8/1/2003. If everything looks good, click "Ok".
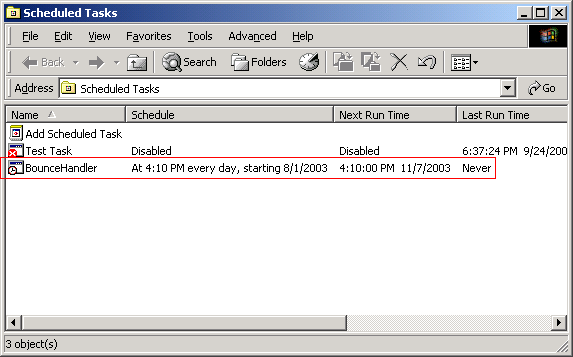
You're done! You've now successfully created a Windows Scheduled Task using the Task Scheduler. At this point,
you should be back to the "Scheduled Tasks" window, and you should see your newly created task in the task list.