There are many instances in which the business process requires executive reports or some company performance reports to show up on intranet sites. Companies do use different portals to build their intranet sites. Microsoft’s SharePoint technology is one such tool. The main task is how we display the reports stored under SQL Reporting Services on the SharePoint site. Microsoft does provide two Web parts with SQL Reporting Services SP 2. In this section I will share information on using the current web parts provided by Microsoft and then explain what exactly happens behind the scenes to display the report. Finally I will explain how you could create your own web part.
The two web parts provided by Microsoft are Report Explorer and Report Viewer.
Report Explorer Web Part
This web part displays all the reports in Report Manager. This allows the user to set the Report Manager property and display all the folders/reports under Report Manager. Next we will cover the properties of this web part.
Report Manager: This property should be set to the Report Manager and not where your Reports are saved. If you just set this property then your screen will look as follows.

Start Path: This property allows you to start your explorer view from the folder under which these reports are stored. For this article I am using the default reports provided by SQL Reporting Services. If you set the Start Path your screen will be as follows.
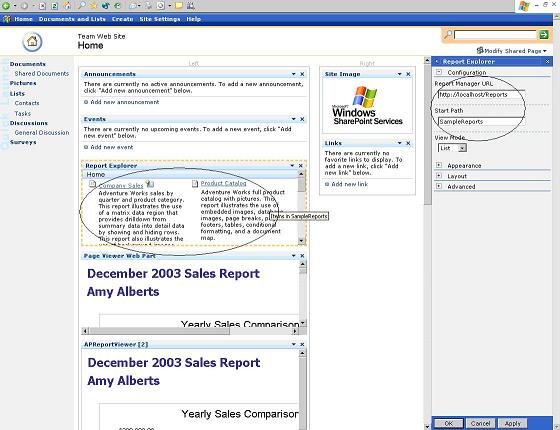
View Mode: There are two options. The first option, List, will display all the Report names and the descriptions. No other details will be provided. The Report Explorer web part will look as follows.

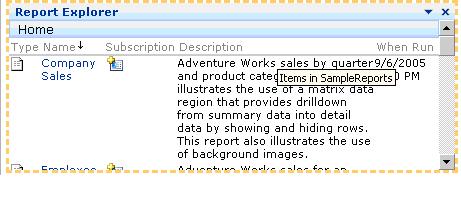
The second option is Detail. This will display more information about the report in a table format with more data on when the report was last run, etc. The Report Explorer web part will look as follows.
Report Viewer Web Part
This web part is actually used to display the web part. You can either set the report to display in the properties or connect this web part to the Report Explorer web part.
Connecting to the Report Explorer: This is the easiest process. The steps required to accomplish this are:
-
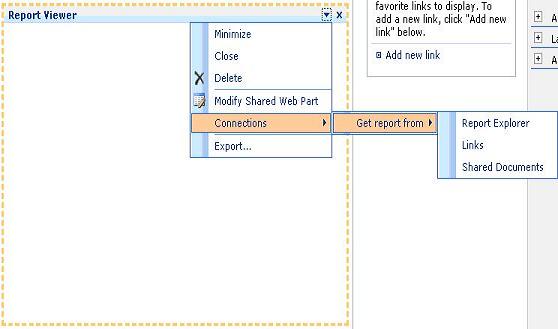
Go into Modify Shared Web Part for the Report Viewer web part.
-
Once in Modify Shared Web Part, you can go to Connections -> Get report from and select Report Explorer.
-
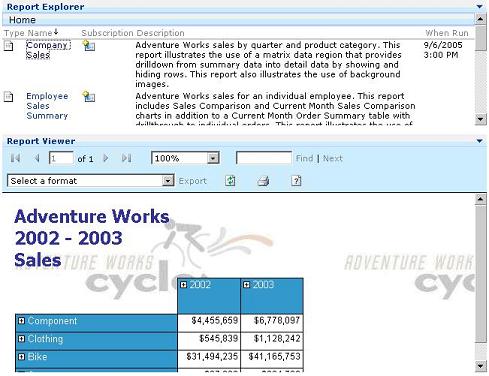
Now you can test the report by clicking on some report in the Report Explorer. For my example, I will click on the Company Sales Report under the sample reports. Following is the snapshot on how the report will display for Company Sales Report.
We'll now cover the properties for this web part.
Report Manager URL: As explained in the Explorer View, this is where you enter the Report Manager’s URL. In my case, I am using http://localhost/Reports.
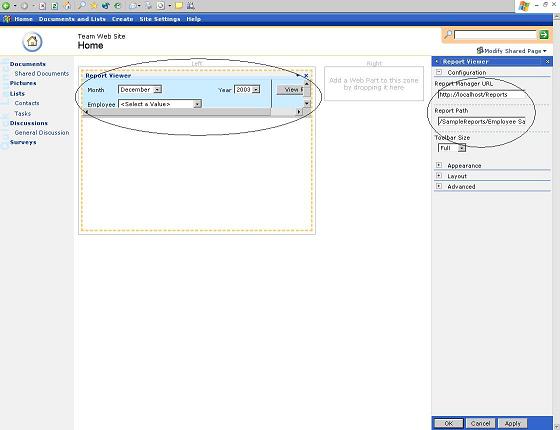
Report Path: This differs from the Report Explorer web part; it is here you actually specify the Report to be displayed. In my case, I am going to use Employee Sales Summary as I want to show how the parameters window displays. In the snapshot I have highlighted the properties window and the actual Report Viewer web part. When there are parameters to be passed to the report, your report won’t render till you enter the parameters and click the View Report Button.
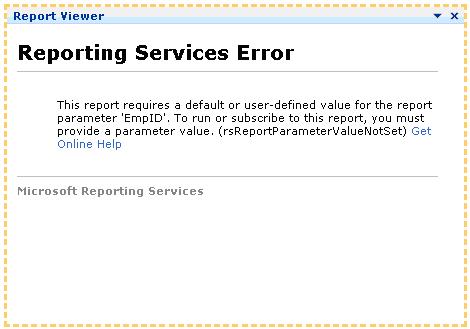
Toolbar Size: There are three different options for this as follows. The first option is None, which will remove the toolbar altogether. For reports that do not use Parameters, this option works fine. But for reports that do use parameters, this option will display an error because the report is being rendered without any parameters being passed to it.
Now the question arises: what if I would like to pass default parameters to the screen and not display the Toolbar? That’s where you will build your own Report Viewer web part as explained later in this article. You will see an error as follows on the above mentioned report if you set the Toolbar size to None.
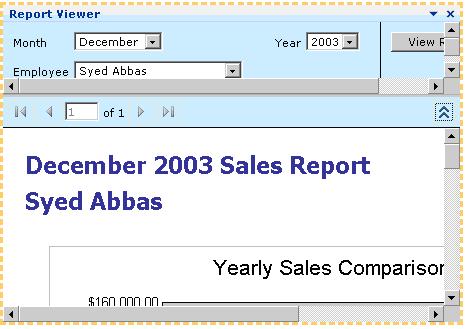
The second option, Small, will display the parameter window. The only part that is displayed for the toolbar is the scrolling part that assists the user in scrolling through pages. Your Report Viewer web part will look like the following.
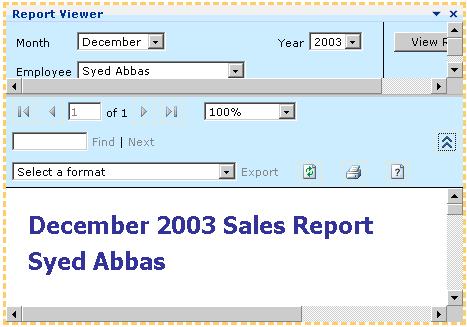
This last option if Full. This will display all the options including find, exporting the report, refresh, print, and help to create the report. Your screen will appear as below.
Section Summary
In this section I explained how you actually display reports using the Reporting Services Web parts provided by Microsoft. In the next section, I will explain the different options you could use to display the Reports with the default parameters set.