[ download code ]
If you have ever wanted to build your own Windows Installer and you have access to Visual Studio .NET it is much easier than you may think and of course it is much less expensive than many other third party installer applications. While third party installer applications may provide a greater variety of options, I have found the the Setup and Deployment Projects within Visual Studio .NET work perfectly fine in many cases. This article will walk through the step by step process of building a Setup Project.
There are five different templates that are available when you select the project type 'Setup and Deployment Projects'.
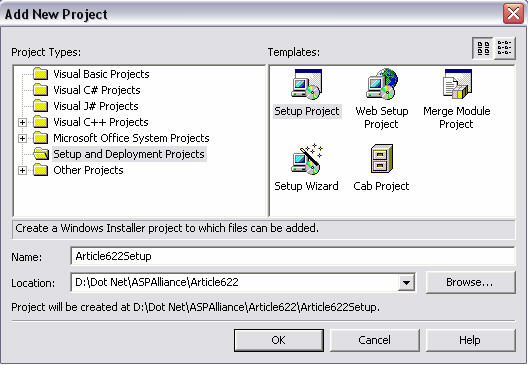
Figure 1: Add New Project Dialog
- Setup Project: Creates a Windows Installer project to which files can be added. This project type is the most generic of the five.
- Web Setup Project: Creates a Windows Installer web project to which files can be added.
- Merge Module Project: Creates a Windows Installer Merge Module project to which files can be added. This project type is most commonly used for using third party products.
- Setup Wizard: Creates a Windows Installer project with the aid of a wizard.
- Cab Project: Creates a Cab project to which files can be added.
For the purpose of this article, I will be using the template Setup Project. Provide a name for the project as well choose the location where this project will be established. (See Figure 1) Once you have done this click 'OK' and you should now see a screen comparable to the following.
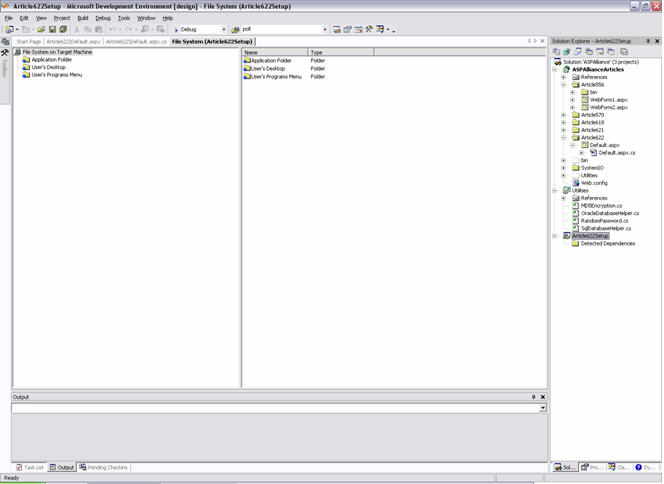
Figure 2: Default File System View
Now that you have an empty Setup Project established let us now discuss the available editors.