The Gauge Wizard serves as a tool to add gauges to the container control and configure them. Using the Wizard, you can select the type of gauge you want to use. Dundas Gauge for .NET comes with three types of gauges: Circular, Linear, and Numeric Indicators. And each type has a gallery of templates from which the developer can choose. Once this is done, you can then customise almost every aspect of the gauge, starting from UI-related features like size, shape, frame type, and colour schemes, to functional aspects like adding ranges, state indicators, input source, dampening, snapping, and history depth. The Wizard also allows you to add more gauges to the container (from the Gauges tab) and, using the Parent Property, a gauge can be added as a child gauge to another.
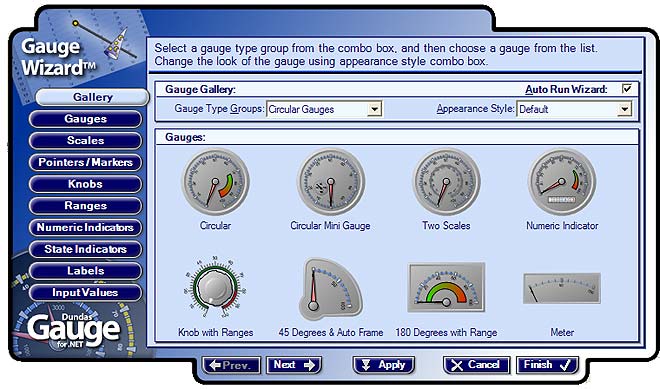
The Wizard interface can be a bit intimidating, especially the first few times you use it. But rest assured that the logical grouping of the various options into separate tab pages helps one get used to the interface reasonably quickly, and you would be creating professional looking gauges in no time and that too without writing a single line of code. However, it has to be said that adding context sensitive help or a Help button to directly access help from within the Wizard would reduce the learning curve for a novice user.
Here are some gauges I created, spending on an average less than five minutes per gauge. Aesthetic sense is not exactly my strong point; nevertheless, I am quite pleased with the results and am convinced that a talented graphic designer could come up with functional and visually appealing gauges with a minimum of effort.
Figures 2 through 6 show sample gauges created while experimenting with the Gauge Wizard.
Figure 2
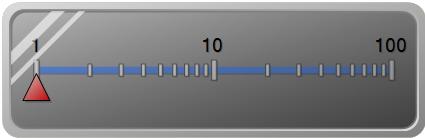
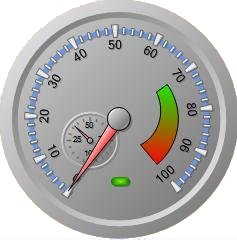
Figure 3
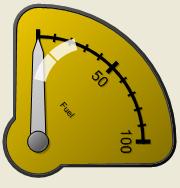
Figure 4

Figure 5
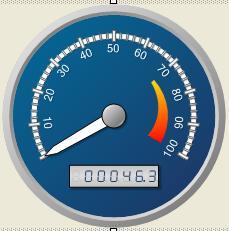
Figure 6